Menu items are important for navigating through your site, but they can be a headache to build and maintain as they get more intricate. Luckily Butter has a powerful tool for easily creating menus and sub-menus that you can change on the fly! Here's how to build menus in Butter.
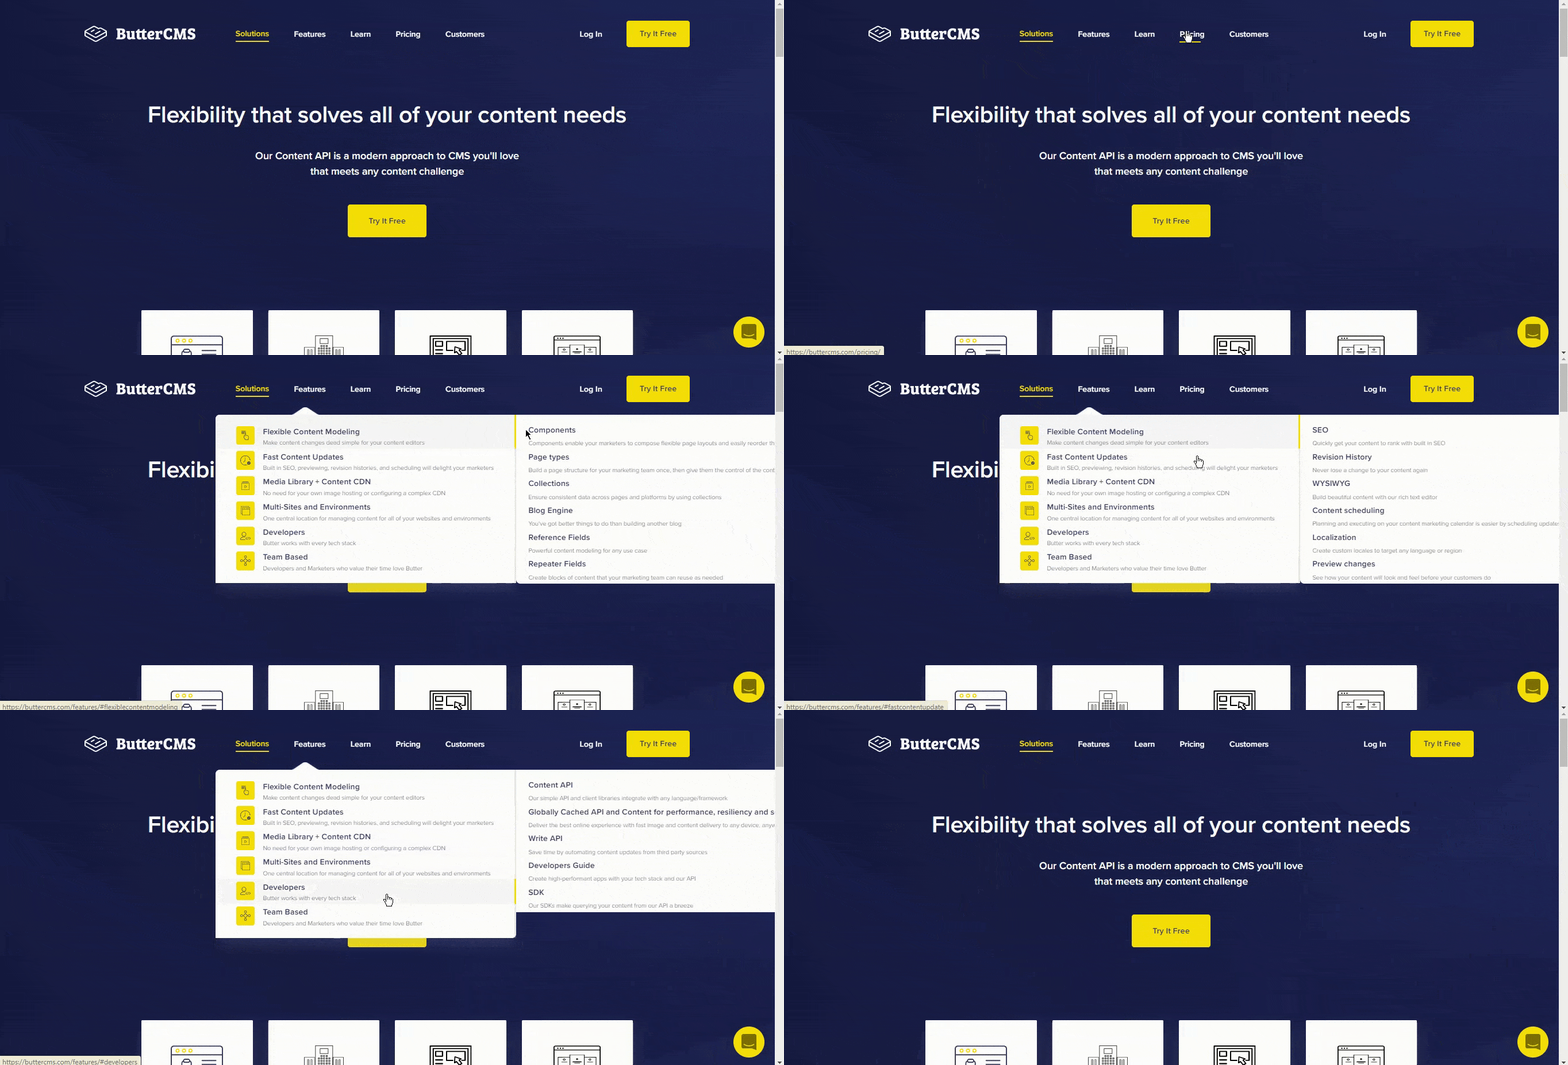
Let's look at how we can create an actual menu that looks like this:
Here's the hierarchy of our menu:
- Solutions
- Ecommerce
- Agencies
- SAAS
- Marketplaces
- Multisite
- Features
- Launch Content Faster
- Content Types
- Pages
- Collections
- Blog Engine
- SEO Built-In
- Powerful Field Types
- Custom Field Validation
- Preview Changes
- Schedule Content
- Revision History
- Web and Mobile
- Components
- Component Library
- Drag and Drop
- Customize SEO + Social
- Digital Asset Management
- Automatic Compression
- Mobile Responsive
- In-App Image Editing
- Image, Audio, Video, More
- Image API
- Team Workflows
- Approval Workflow
- Workflow Timeline
- Roles and Permissions
- Locale Permissions
- Localization
- Limitless Languages
- Translation Experience
- Permissions
- Enterprise Grade
- Multi-site
- Single Sign On (SSO)
- Customer Success
- Migrations
- Secure Hosting
- Write API
- Globally Cached Content
- Daily Backups
- Live Chat and Email
- Developer Experience
- Webhooks
- API Explorer
- One-Click Migrations
- Launch Content Faster
- Learn
- Docs
- Starter Projects
- Blogs
- Knowledge Base
- Butter vs WordPress
- Pricing
- Customers
- Partners
In this example, we will be using Collections - which is a global piece of content. You can model them out in any way you want and give them their own custom set of fields. It has its own API key, which means you can also use it across all of your pages. Navigation menus are global items, so they are a great fit for Collections.
Step 1: Creating first Collections
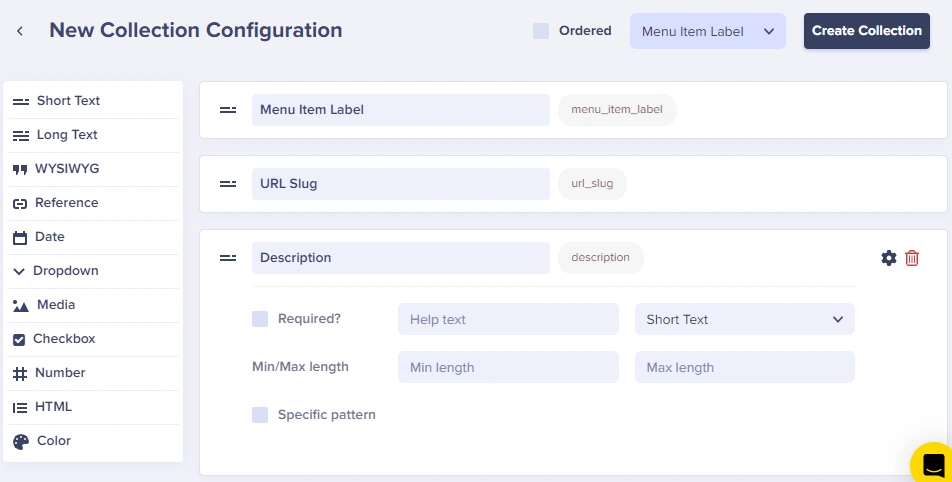
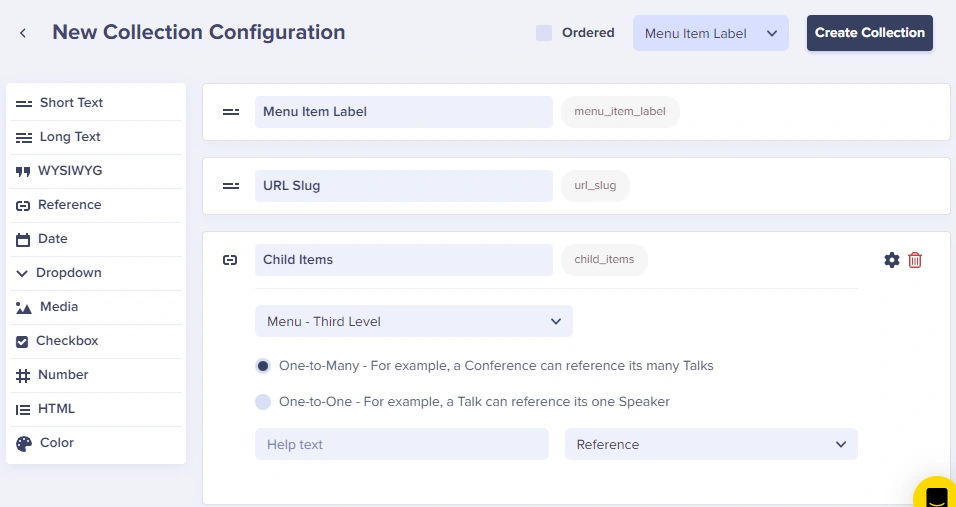
Let's get started! The first step is to start building the lowest-level children as a collection. Some important fields to add would be the "Menu Item Label" which is the display text, and the "URL Slug" which is what the item links to. You can add other fields to it should you wish, but make sure to include the ones I just mentioned.
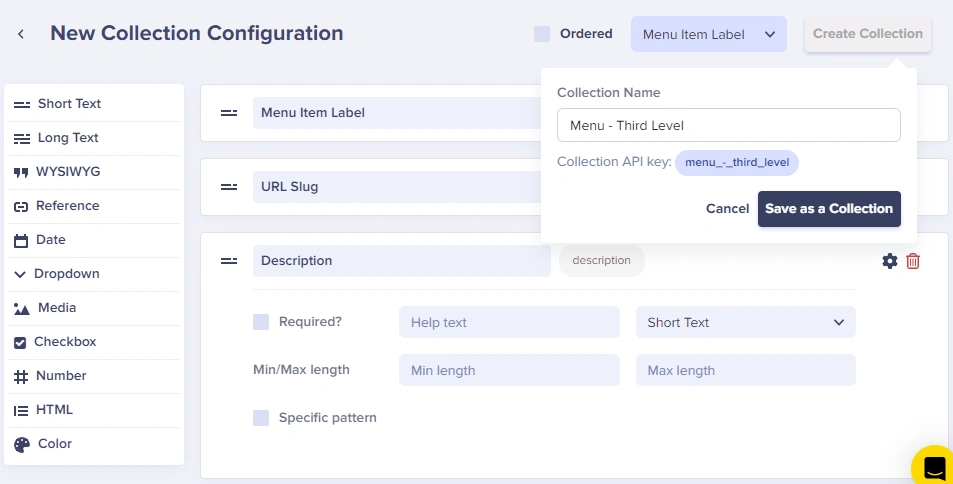
Now that we've created the base configuration, we can save it and call it something like "Menu - Third Level."
When you're happy with the base configuration for your first collection and you have saved it, repeat the same steps for each level of your menu. Remember to create one Collection for each level of your menu and sub-menu.
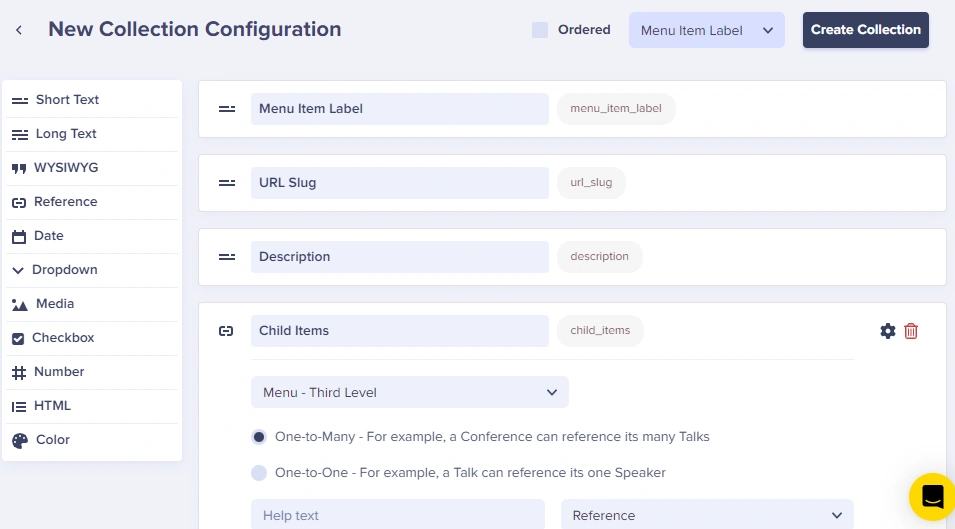
"Menu - Second Level" would have a reference field linking to your "Menu - Third Level." Reference Fields give you the option of easily making a menu with as many layers as you want.
For our example, we need to add a Child Items Reference Field that has a One-to-Many relationship so that we can link an item to multiple Child Items. We also want to make sure that it "references" the right collection.
"Menu - First Level" would have a reference field linking to your "Menu - Second Level."
Step 2: Adding items to your Collection
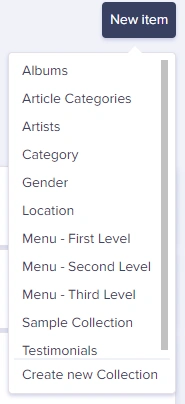
To add an item to any Collection, just click on the New item (Collection Name) button.
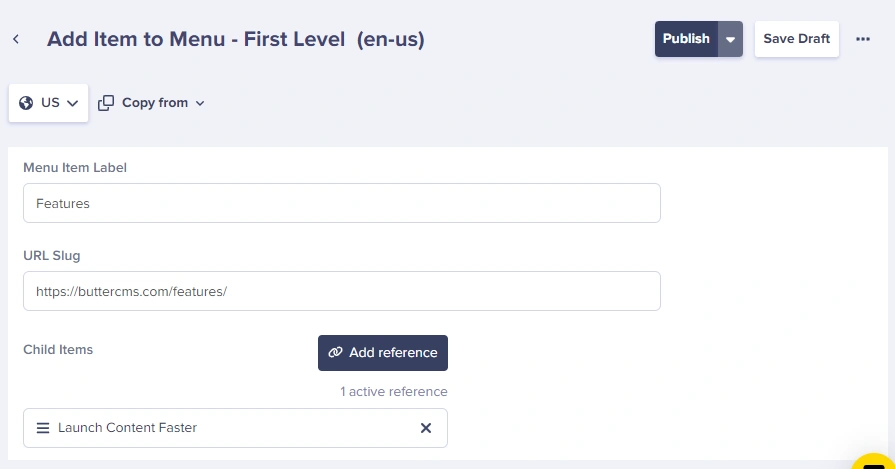
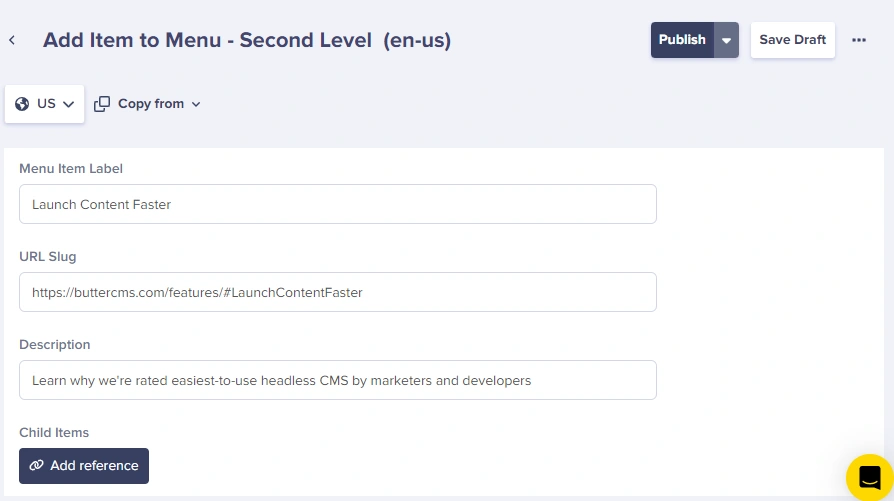
Below is the interface where you can modify the content for each item in a Collection. As we said before, our Menu Item Label is the text to be shown on the menu, and the URL is the link it will follow.
First Level:
Second Level:
Third Level:
Step 3: Linking items from one Collection to another
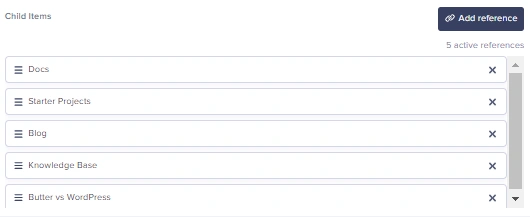
To choose the correct Child Items, all we have to do is click on the Add Reference button and then highlight all of the items we want to be in the sub-menu.
Collections are a powerful tool that Butter uses to help developers build great-looking websites quickly. With a Collection item and a few reference fields, you can create menus as complex as you would like. The icing on the cake is these complex menus look however you want.
NOTE: For global API calls like for the header and footer, you can cache the response of those calls locally. That will greatly help reduce the number of API calls to be made and improve response time.
