Interested in adding categories to your content in ButterCMS? This is a guide on how to add categories to better organize your content within ButterCMS.
To accomplish this we suggest that you use Collections as facets (filterable properties) for your Pages. In this example, we are going to look at how we use Collections to help categorize our own Knowledge Base articles.
Step 1: Create a collection template
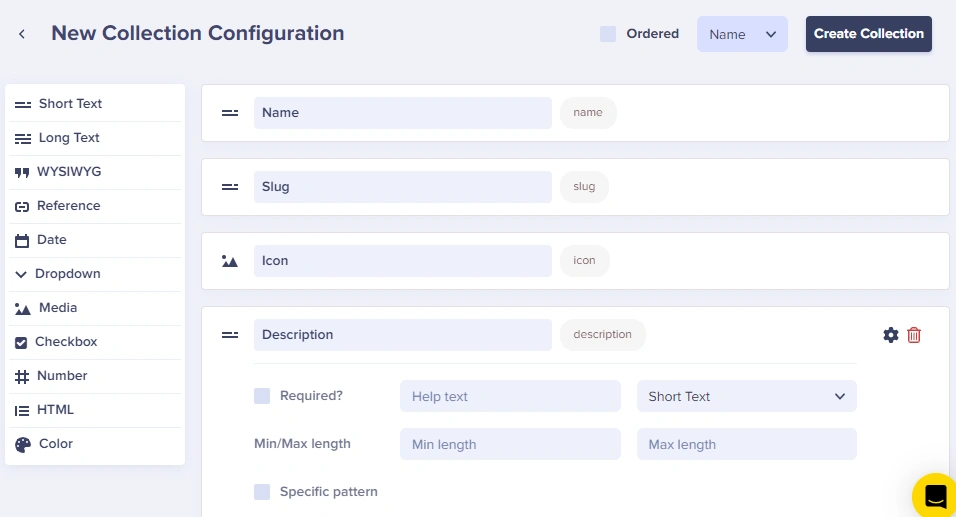
To get started, you will want to create a Collection that will serve as a template to house your list of categories. The example below contains a field for the category name, slug, icon, and description which your content team can use to provide more information about each category.
We include several field types, as the content from the Collections is visible on our website. This might not be true for your use case, so feel free to adjust the schema as you see fit. We recommend having 2 short text fields for the name and a slug as a minimum.
Step 2: Populate the collections
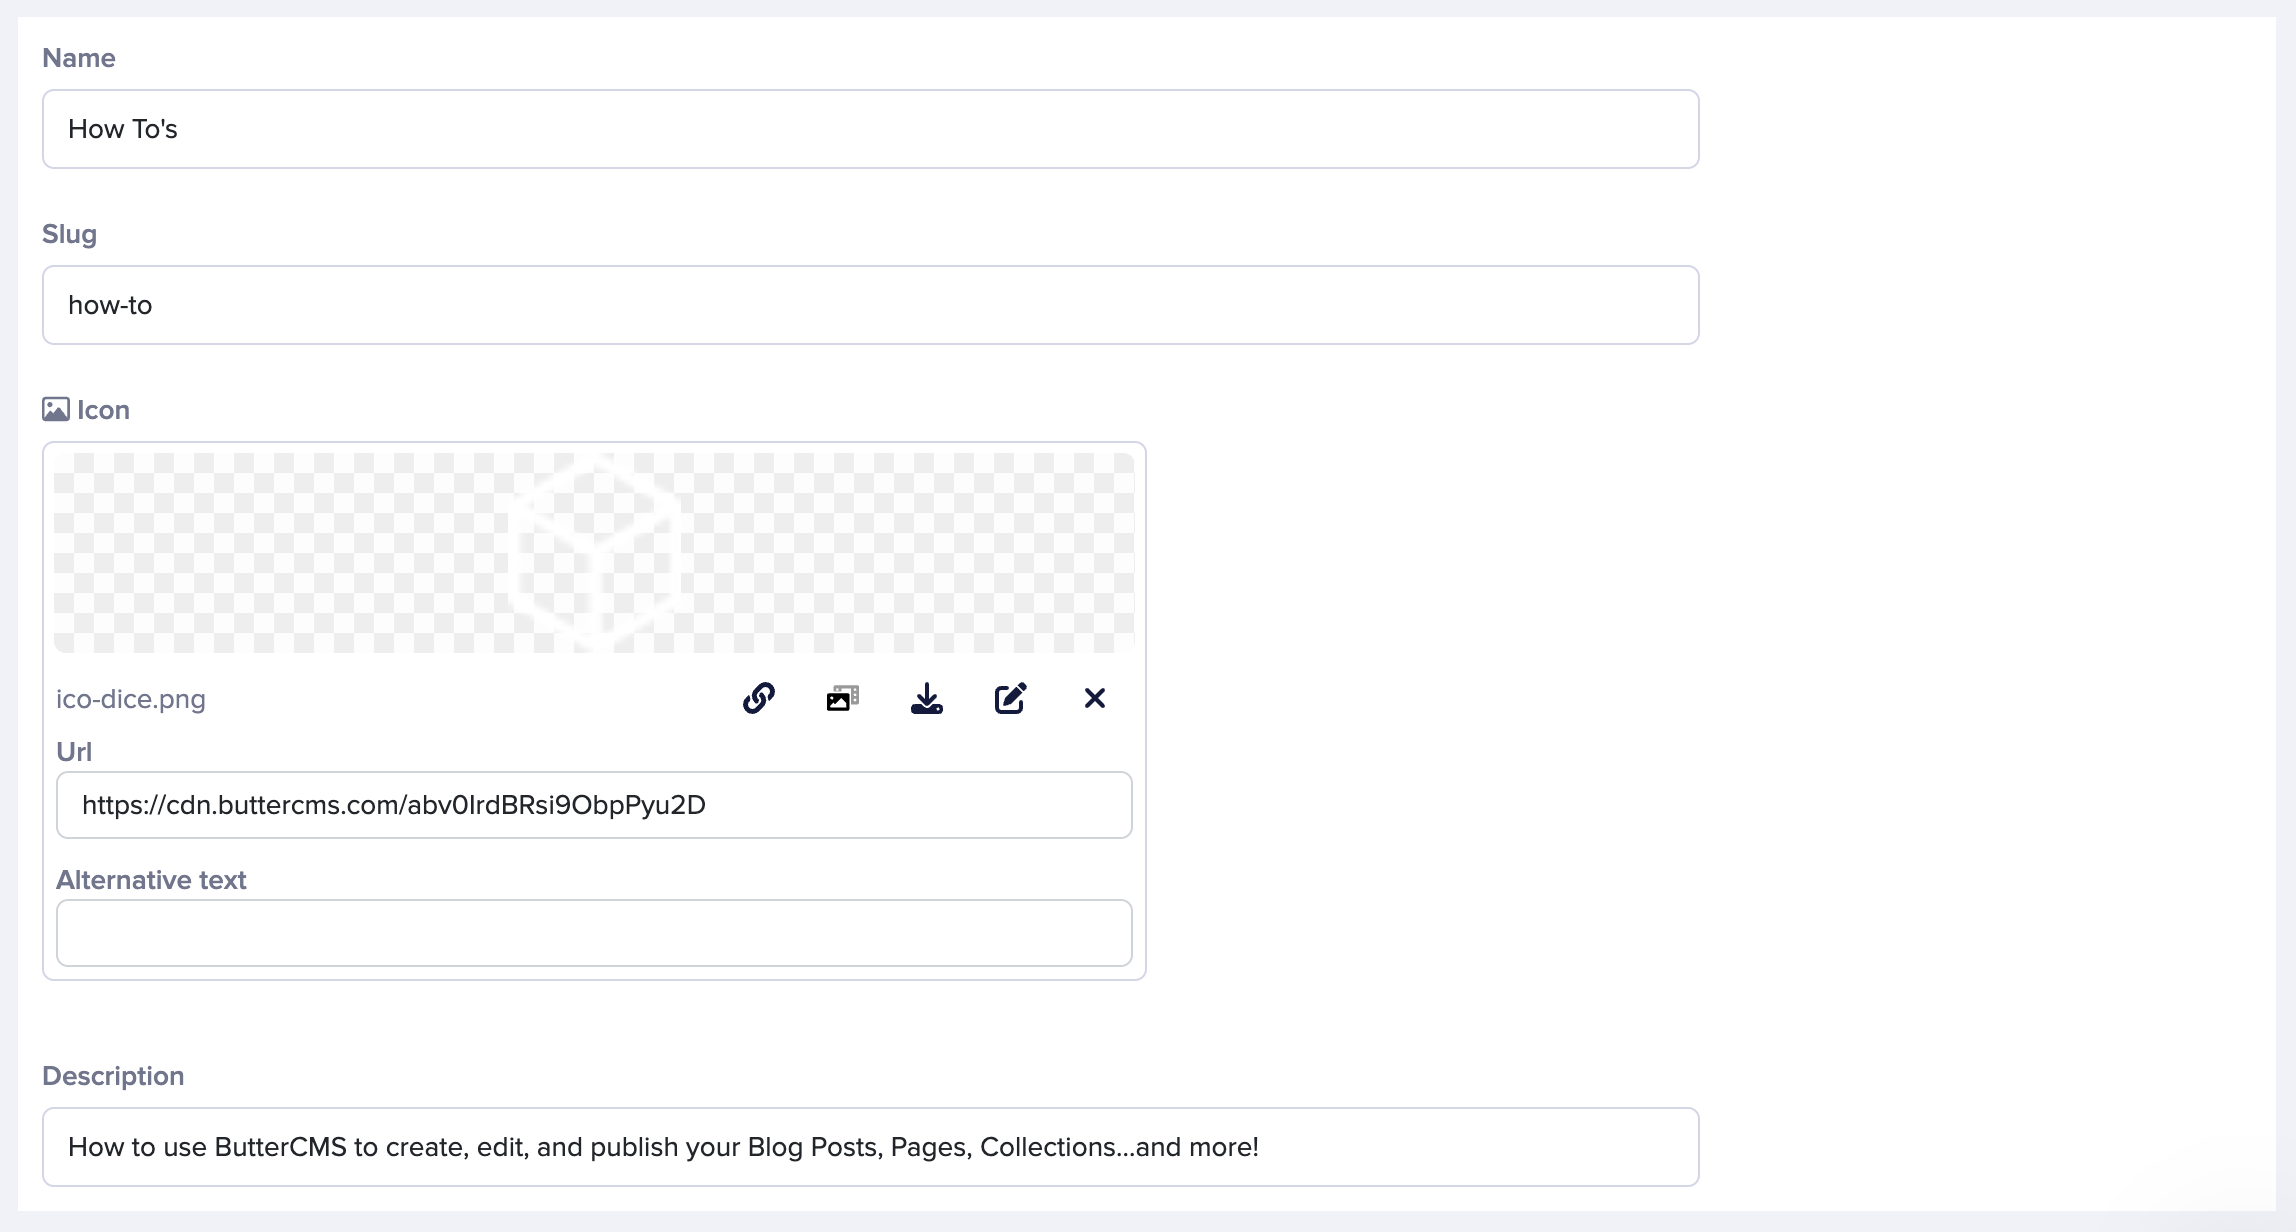
Start entering each of your different categories as a Collection Item. In our case, we have 6 different options for categories: How To, Content Modeling, Write API, How To, PodCast, and Webinar.
Depending on the size of your project, utilizing the write API function is a great tool that can help expedite this process and ensure the collections in Butter are up to date and in sync with an internal database that might be housing these terms.
Here are some articles with more information on this:
- Importing Third-Party Data into ButterCMS
- How to Use the Write API to Migrate Content into ButterCMS
Step 3: Create, or update, a page template
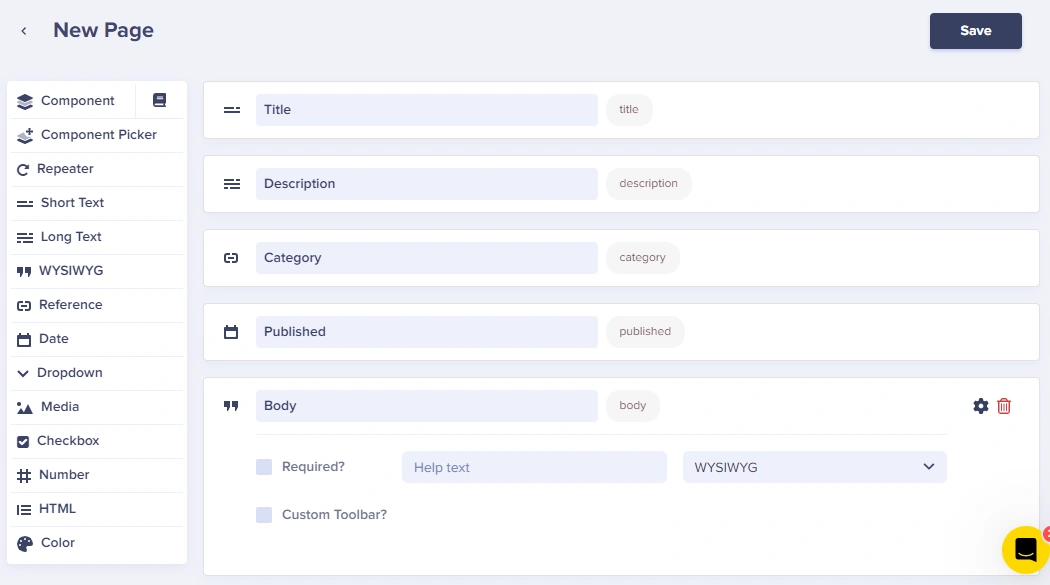
In this example, we are making a new page type to serve as the template for our Knowledge Base articles. In this example, we will be adding the following fields to your page:
- Title
- Description
- Category - You will need to use the reference field for this so you can link this page or page type to the 'Categories' collection you created.
- Published
- Body
Step 4: Create your first page or article using the schema you just built.
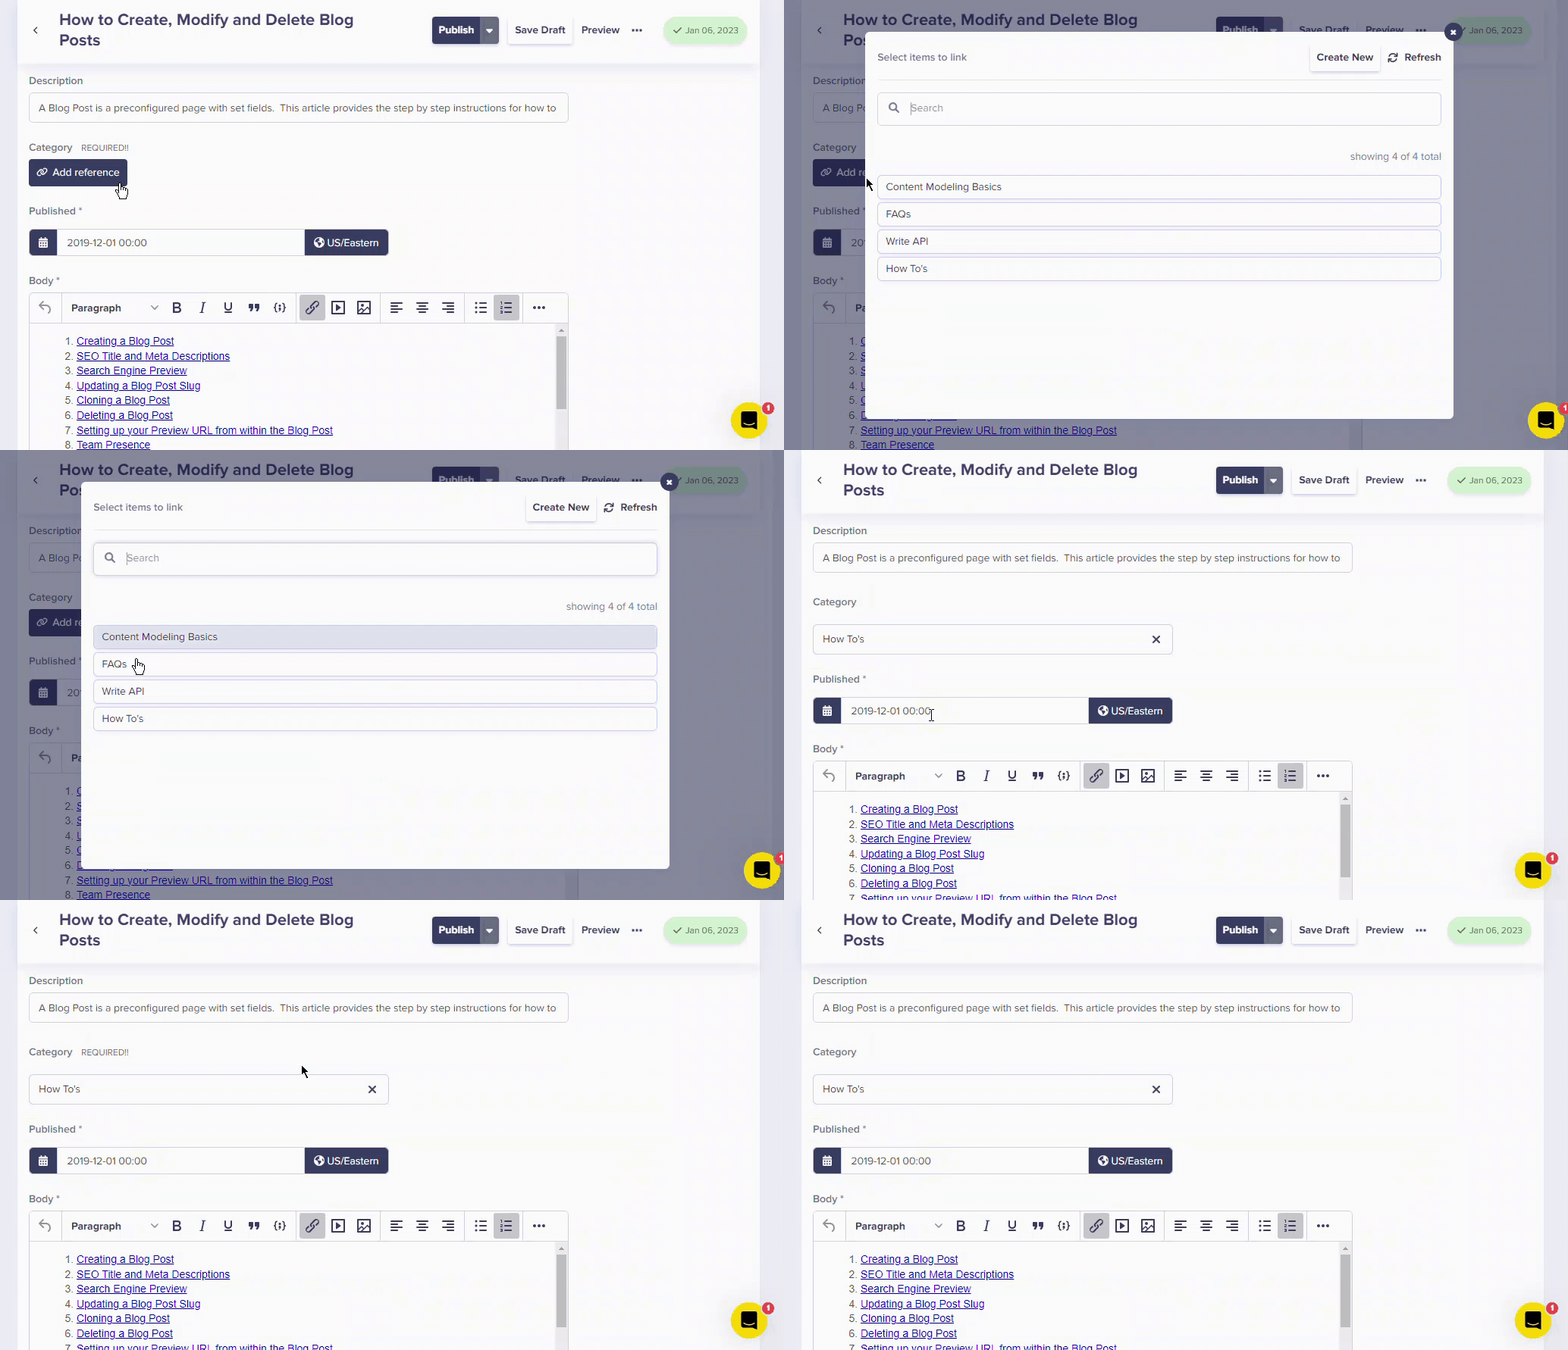
When creating a page your team will now be able to select from a list of categories. This list of categories was generated in step 2.


