ButterCMS Settings
- General
- Integrations
- Blog
- Author Profile
- Localization
- Webhooks
- Billing Information
- Adding specific contact/business info to your Invoices
- Upgrading subscription
- Enabling Write API
This is the page where you can access and manage details about your ButterCMS account.
Settings > General
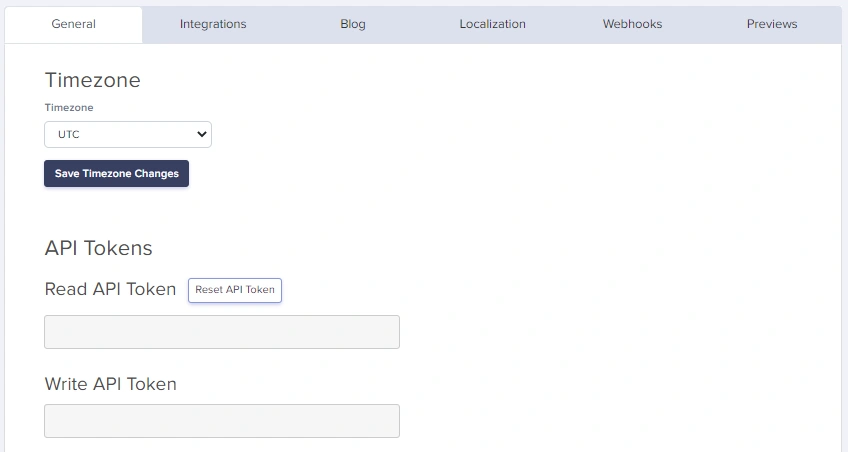
For setting the timezone for your account and to view your Read API Token and Write API Token
It is important to set the right timezone on your account as this is used for scheduling posts and viewing history.
An API token is a unique identifier of an application requesting access to your service. The Read API Token is super critical as you'll be using it to make calls to fetch data from Butter.
Note: The API token you use for reading from the ButterCMS API will not allow you to create content in the API. For this you will need to use a different write-enabled token. Write-enabled tokens are provided on request. Just chat or email support@buttercms.com to get yours.
Settings > Integrations
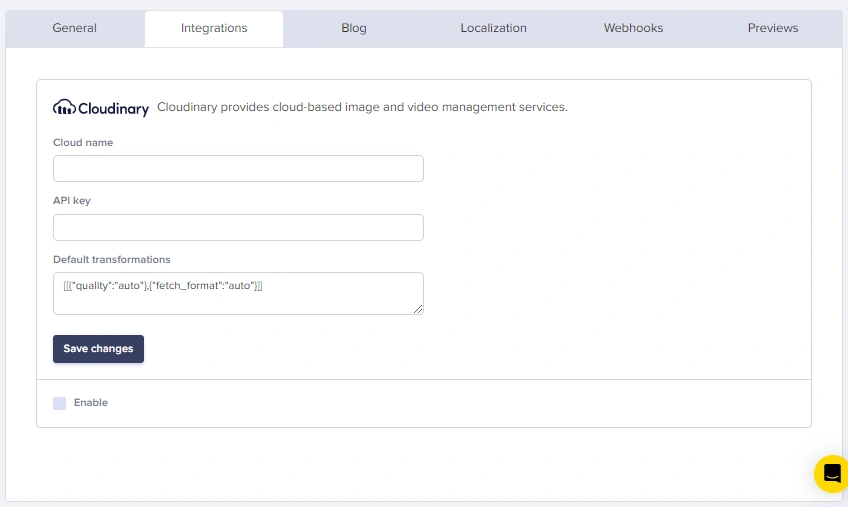
To connect Cloudinary to your account.
With this app you can continue to use Cloudinary as your preferred DAM solution for images, videos, and other digital assets. By installing the Cloudinary app, you can bring your Cloudinary assets into ButterCMS projects with the rest of your content.
Settings > Blog
To connect Google Analytics to your account, or to configure your Author Profile.
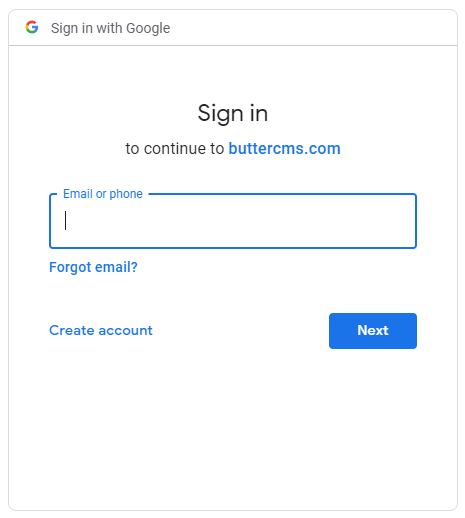
Google Analytics provides the total page views for each blog post and by connecting this with your ButterCMS account, you can have an at a glance view of this information right from your blog dashboard. Clicking on Connect will prompt you to login to your Google Analytics account:
Once you log in and approve ButterCMS, you'll be able to choose your Google Analytics profile for your website.
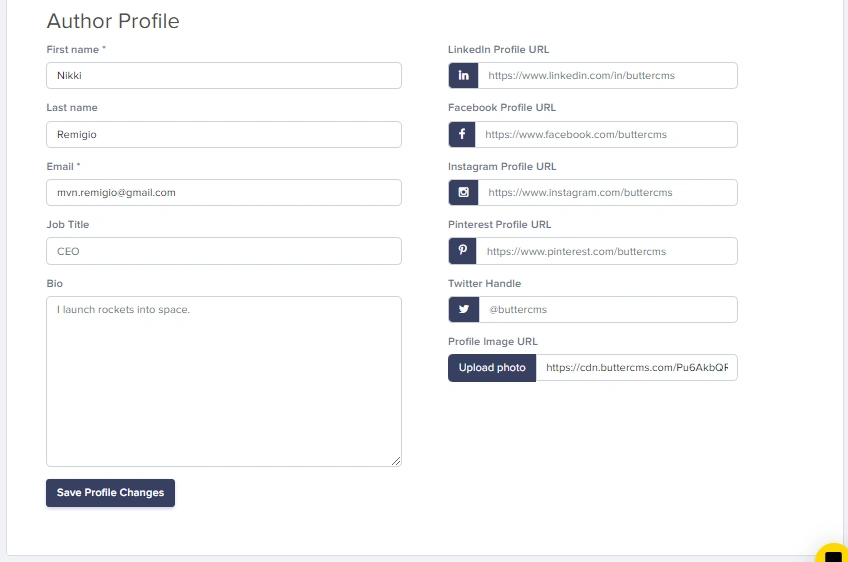
Author Profile
Helps boost your personal branding on your blog posts, you can configure your profile to show your first and last name, email address, your job title, bio, profile image, and your social media accounts (Twitter, Facebook, and LinkedIn).
Settings > Localization
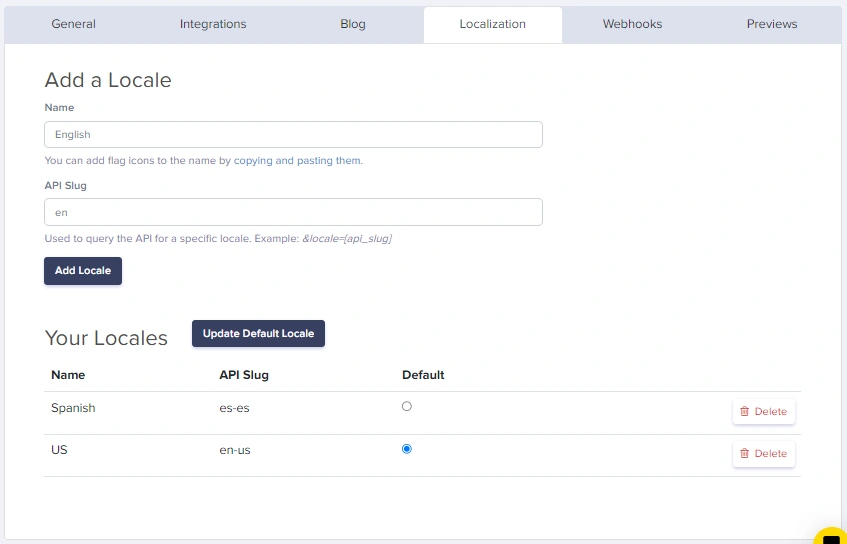
ButterCMS has full support for localization of your content. Locale names and keys are completely customizable and there's no limit to the number of locales you can have.
Localization is the act of customizing your content to the specific locale (geographic location) of the person interacting with your content. If you have a global product, you'll greatly benefit from localizing your content by providing localization. View our API Reference to learn how to query by locale.
Settings > Webhooks
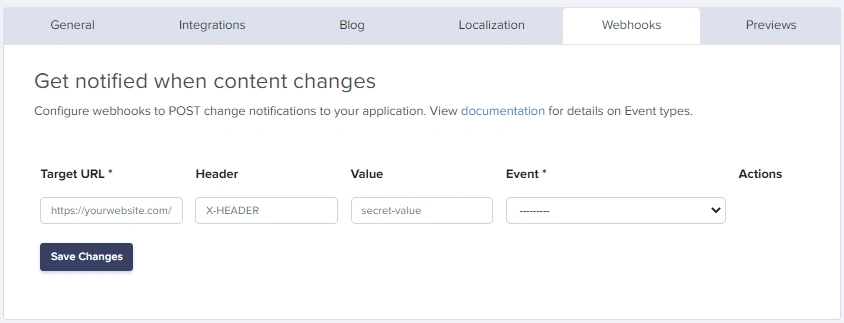
Webhooks are a powerful feature that allows you to notify your internal systems whenever content in ButterCMS has changed. Here are some popular uses for Webhooks with Butter: https://buttercms.com/docs/api/#webhooks
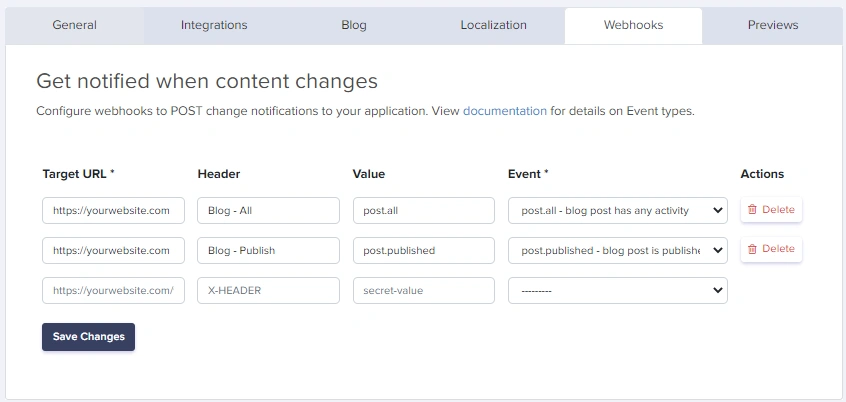
Once you have saved it, this is how it would look like. You can also refer back to this window, to see all the Webhooks you've setup:
Previews
Click here to view a step-by-step guide in setting up your Blog Post and Pages Preview URLs.
Billing Information
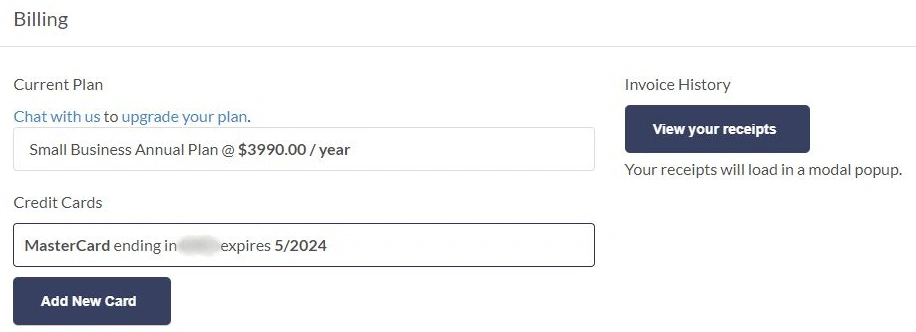
This is the page where you can access and manage all billing-related information for your ButterCMS account.
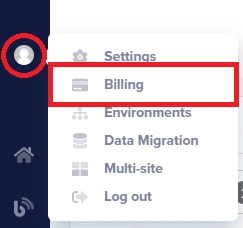
To access information about your current plan, the credit card linked to your account and your Invoice Receipts, just click on Billing:
To view your invoices, save an invoice as a PDF or send a copy of an invoice via email, just click on View your Receipts:
Adding specific contact/business info to your Invoices:
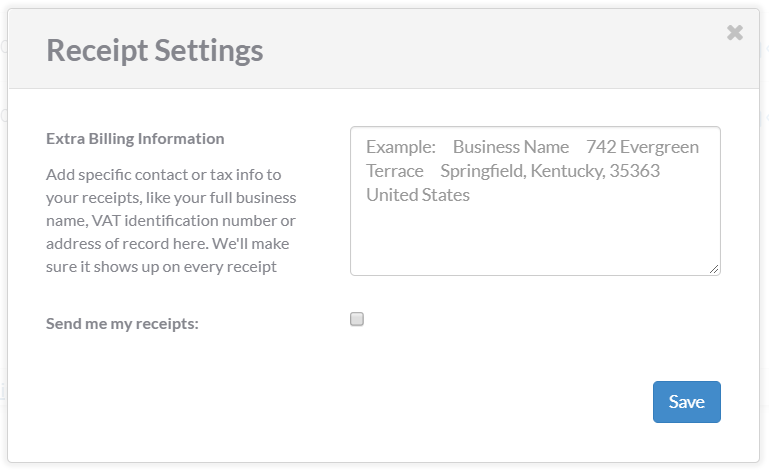
If you'd like to add specific contact or tax info to your receipts, like your full business name, VAT identification number or address of record, simply click on Receipt Settings:
Upgrading Subscription
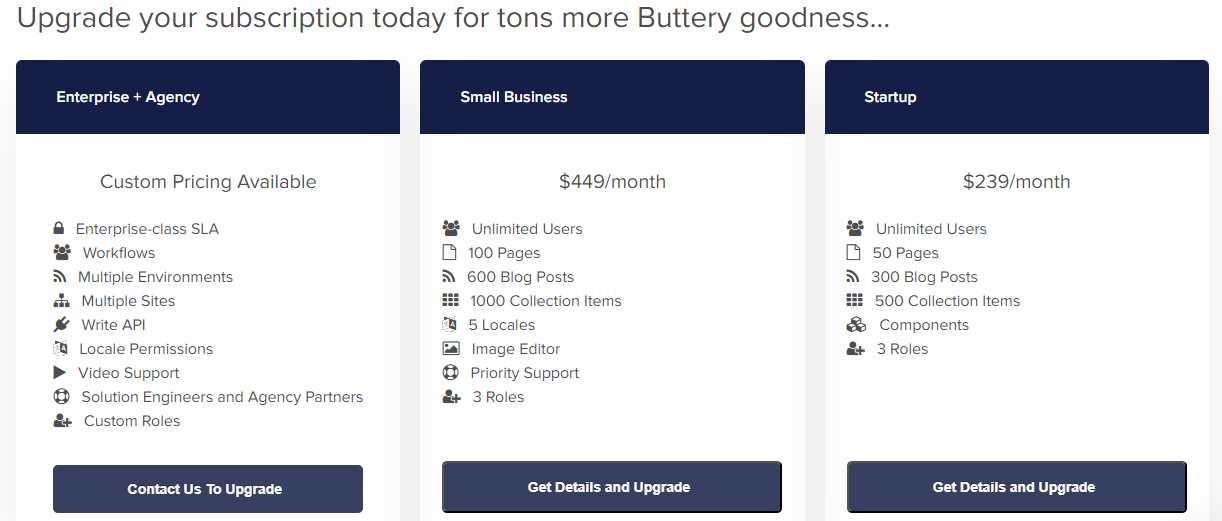
You can upgrade your subscription anytime by clicking on the 'Get Details and Upgrade' button for the plan you wish to switch to:
Enabling Write API
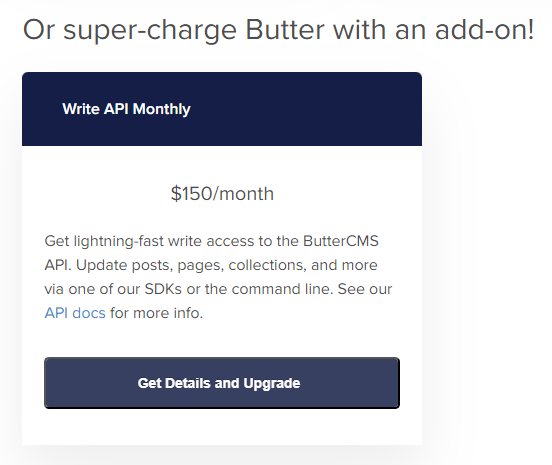
You can also enable the Write API feature on your account by clicking on the 'Get Details and Upgrade' button under the add-ons section:
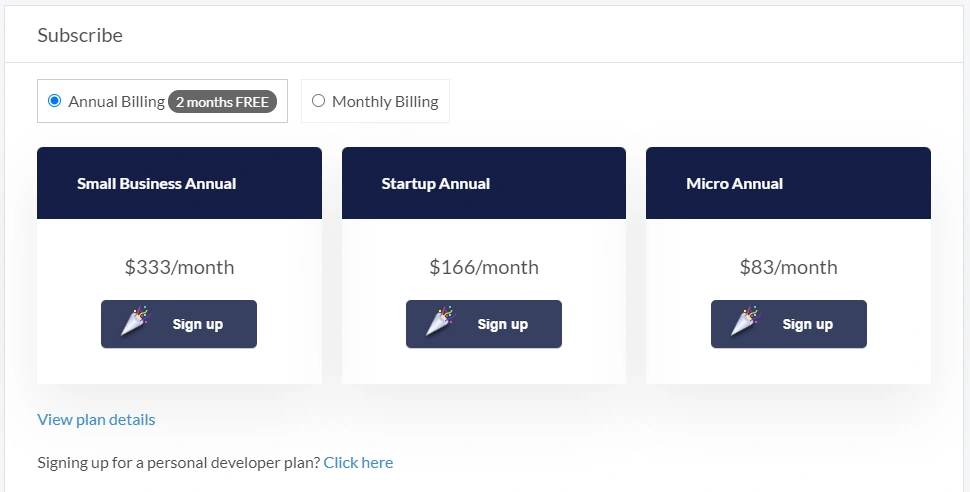
For non-paying accounts, this is what you will see when you click on Billing:
